Being a travel blogger is a dream job for most people. You get to do what you love — and you get paid for it!
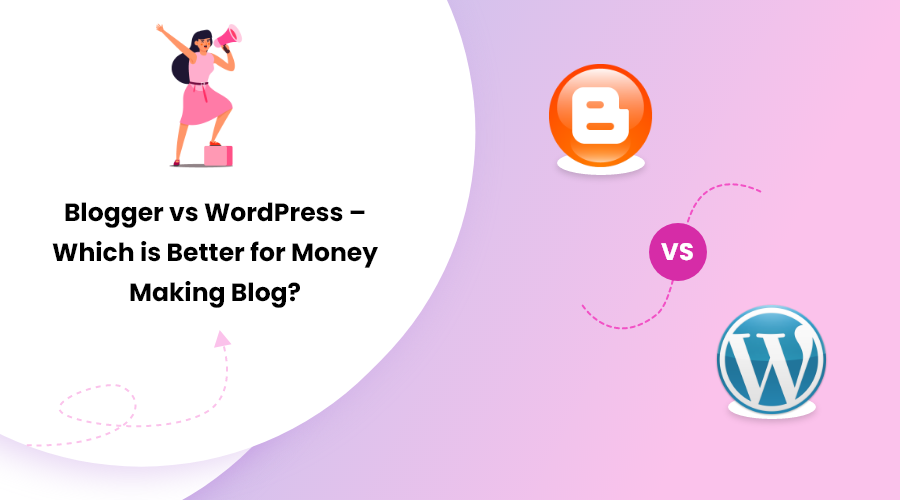
It is 2023 and it’s easier than ever to start a travel blog. Whether you want to do it professionally or as a hobby, you can get your travel blog instantly. But very first questions arise. Blogger or WordPress? Using WordPress, you can set up a fantastic travel blog in no time — all without writing a single line of code.
Sounds easy, right? Well, yes but not completely, since it’s important to research and grab advice step-by-step on starting a blog.
So, are you serious about starting a career as a travel blogger? Well, you have to take the proper steps right from the beginning.
To begin your journey, please check out the article below to learn from how to choose a domain to WordPress hosting to travel blog theme.
Step One: Choose a Name
Choosing a domain name for your blog is the first and the most exciting part of starting your travel blog.
Your blog name is the most visible part of your brand. It is the URL link that leads viewers to your blog, like “www.cooltravelblog.com“. Readers will know you by this name. So, find a name that ticks all the boxes. Here are some considerations:
1. Short and simple
Choose a short and simple name that rolls off the tongue and sticks to the brain. It’s best if you can keep it under five words.
2. A name to last
Choose a name that can stand the test of time. You want a flexible name that can stick through changes. So, don’t use your name for your blog name. However, it could be useful if you plan to drive your blog with your personality as a central factor.
3. Try for a descriptive name
Flexibility is important to consider for the long term. But you also want a name that communicates a sense of who you are as a blogger. A perfect and unique descriptor can allow for a unique blog name. But this works best if you have a good vision for what you want your travel blog to be.
4. Avoid cliches
Try to avoid cliched words like ‘vagabond’ and ‘adventure.’ Travel blogs with such names are a dime a dozen. You risk getting yourself confused with any number of them by using such cliched words.
5. Keep it classy
Make sure your blog name can make it through a business conversation without raising eyebrows. Don’t use informal words or slangs if you hope to work with companies in the future.
Step Two: Purchase the Domain and Hosting
The host is the space that stores your blog content.
There are some tried and true hosting services where you can get started at low cost and excellent reliability. Even WordPress recommends using Bluehost service.
What’s great about Bluehost is that they provide you with a FREE domain for your first year of membership. You also get a reliable service at a much lower cost than competitors.

You can get a good start with Bluehost’s Basic hosting package, which offers you 50GB of storage. This is more than enough to get started on. From there, you can move on to their bigger plans if you need.
Go to Bluehost and click Get Started Now to view their pricing page. Click on the desired plan and then enter your existing domain name, or sign up for a new one.
After that, it will ask you to enter your personal details and payment information. Then, create a password for your Bluehost account and there you have it, your first hosting plan.
Here are a few things to consider:
Buy your domain
Many services allow you to get subdomains without paying a dime. But since you won’t own these subdomains, the provider can remove your content at any time. There’s also a limitation in terms of the design, security, and search engine ratings of your blog.
So, they are not a good option if you’re serious about your travel blog and want to make it professional. You can check out the best domain name register and select the best domain for your site.
Pay for domain privacy
When purchasing your domain, you can also pay a small amount for Domain Privacy Protection. This service ensures that your contact information stays private. Domain Privacy Protection hides the public information related to your domain and prevents you from the risk of spamming.
Step Three: Install WordPress
Once you have created a password for your Bluehost account, the website will walk you through the process of starting a blog. First of all, you will need to choose a WordPress theme. You can skip this part if you want and choose any theme you like.
Then, click Start Building. The next screen will request you to choose between Business and Personal, and you may choose as per your goals. Click I don’t need help on the next screen, and you’re good to go.
Step Four: Find and Install a Good WordPress Theme
WordPress themes are readymade templates for a website. They come with artistic elements and tools that help you make the most of your website.
You can easily find free WordPress themes on the internet. But, if you want to invest in premium themes, you can get them anywhere from $20 to $50. These themes come with unique and advanced functionalities that are not available in free themes.
However, it is worth noting that the level of features and functionalities you can receive can differ widely at the same price point. You have to choose the themes with attractive designs to catch the reader’s attention. More importantly, look for functions that help you promote your blog, like SEO-optimization features.
You want features that allow you to promote your brand and showcase your most impressive work.
We have created a list of best travel blog WordPress themes where you can find 15+ themes reviewed in detail. Among those themes, here are our top suggestions:
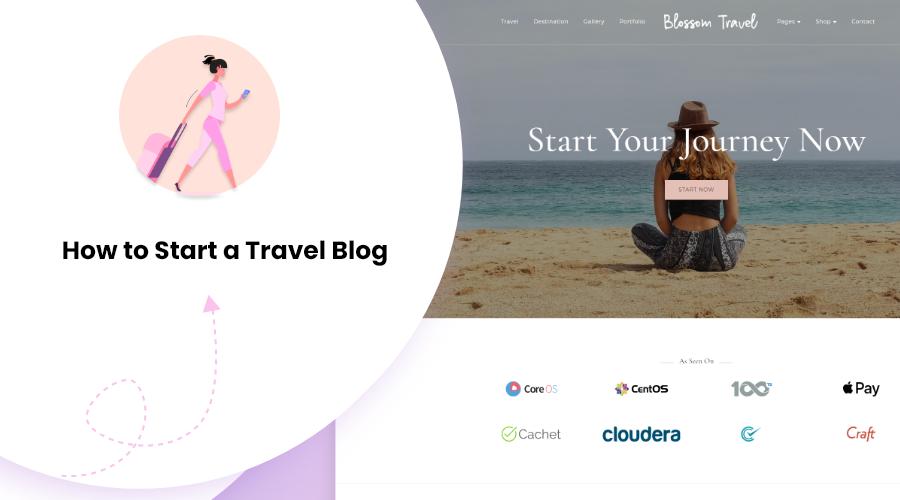
1. Blossom Travel Pro
Blossom Travel Pro comes with a unique, aesthetic design. This mobile-friendly theme runs the same on all devices and has everything you need to run a successful travel blog.
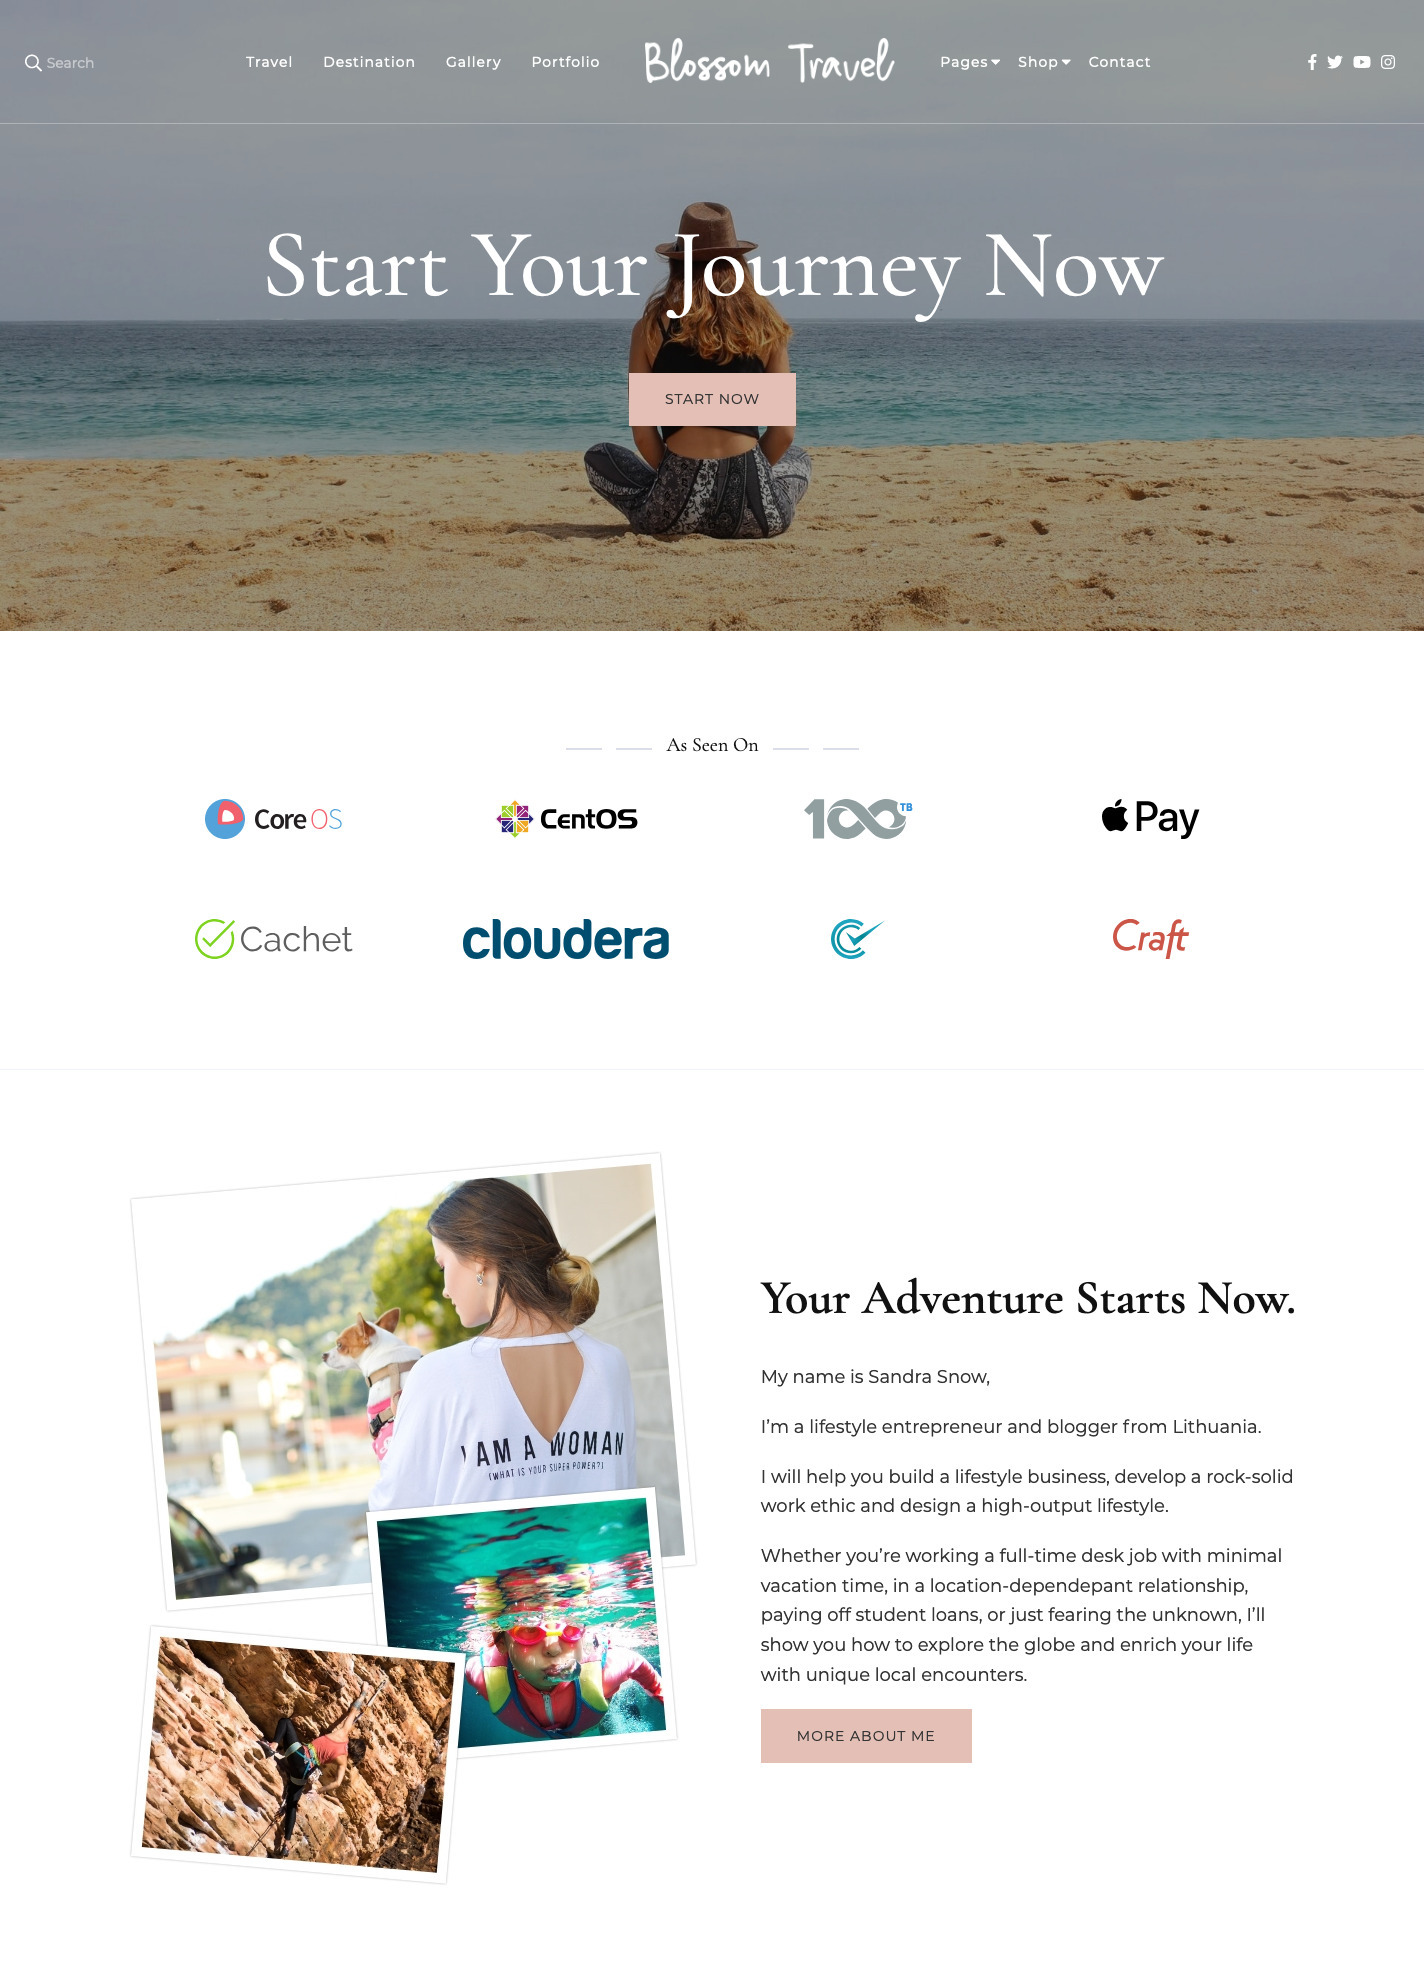
The theme comes with 900+ Google Fonts, unlimited color choices, 5 blog page layouts, and more. You can easily customize this theme to reflect your style.
The major attraction of Blossom Travel pro is the Destination page, where you can display all your posts per city or country.
You can use the As Seen On section to flaunt your collaborations with reputed companies. Google Maps integration helps you pinpoint your destinations to readers on an interactive map.
The theme comes with Google Adsense-optimized advertisement spaces for better ad revenue. It also comes with SEO-friendly features and is multi-language compatible, helping to increase your audience outreach.
The best thing about this theme is the one-click demo import. You can download its demo content with one click and begin personalizing it immediately.
2. Travel Monster Pro
Travel Monster Pro is an excellent choice for your travel booking website. The theme comes with a variety of pre-designed demos that can be imported with just one click, making it easy to get started.
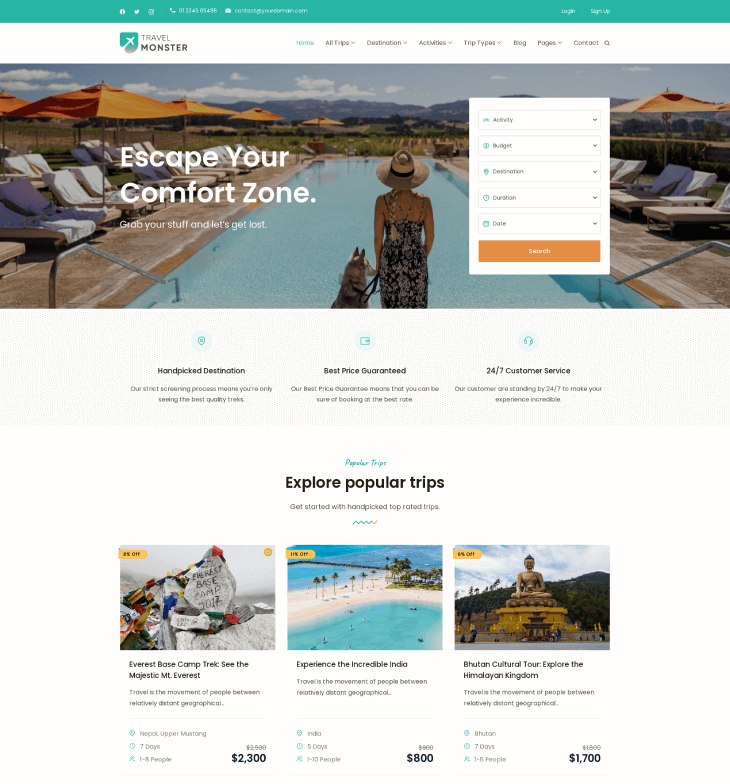
It is also compatible with Elementor and Gutenberg, which gives you complete control over the design of your website. In addition, the theme is mobile-friendly and speed-optimized, which helps to improve your website’s search engine rankings.
Travel Monster Pro is also compatible with the WP Travel Engine plugin, making it easy to add tour packages, travel destinations, trip types, and activities to your website. With Travel Monster Pro, you can create a stunning travel blog that attracts more visitors and keeps them engaged with your content.
3. Travel Diaries Pro
Travel Diaries Pro is a minimal theme with high legibility. This theme is another great choice for a travel blogger as it comes with specialized features to help boost your work.
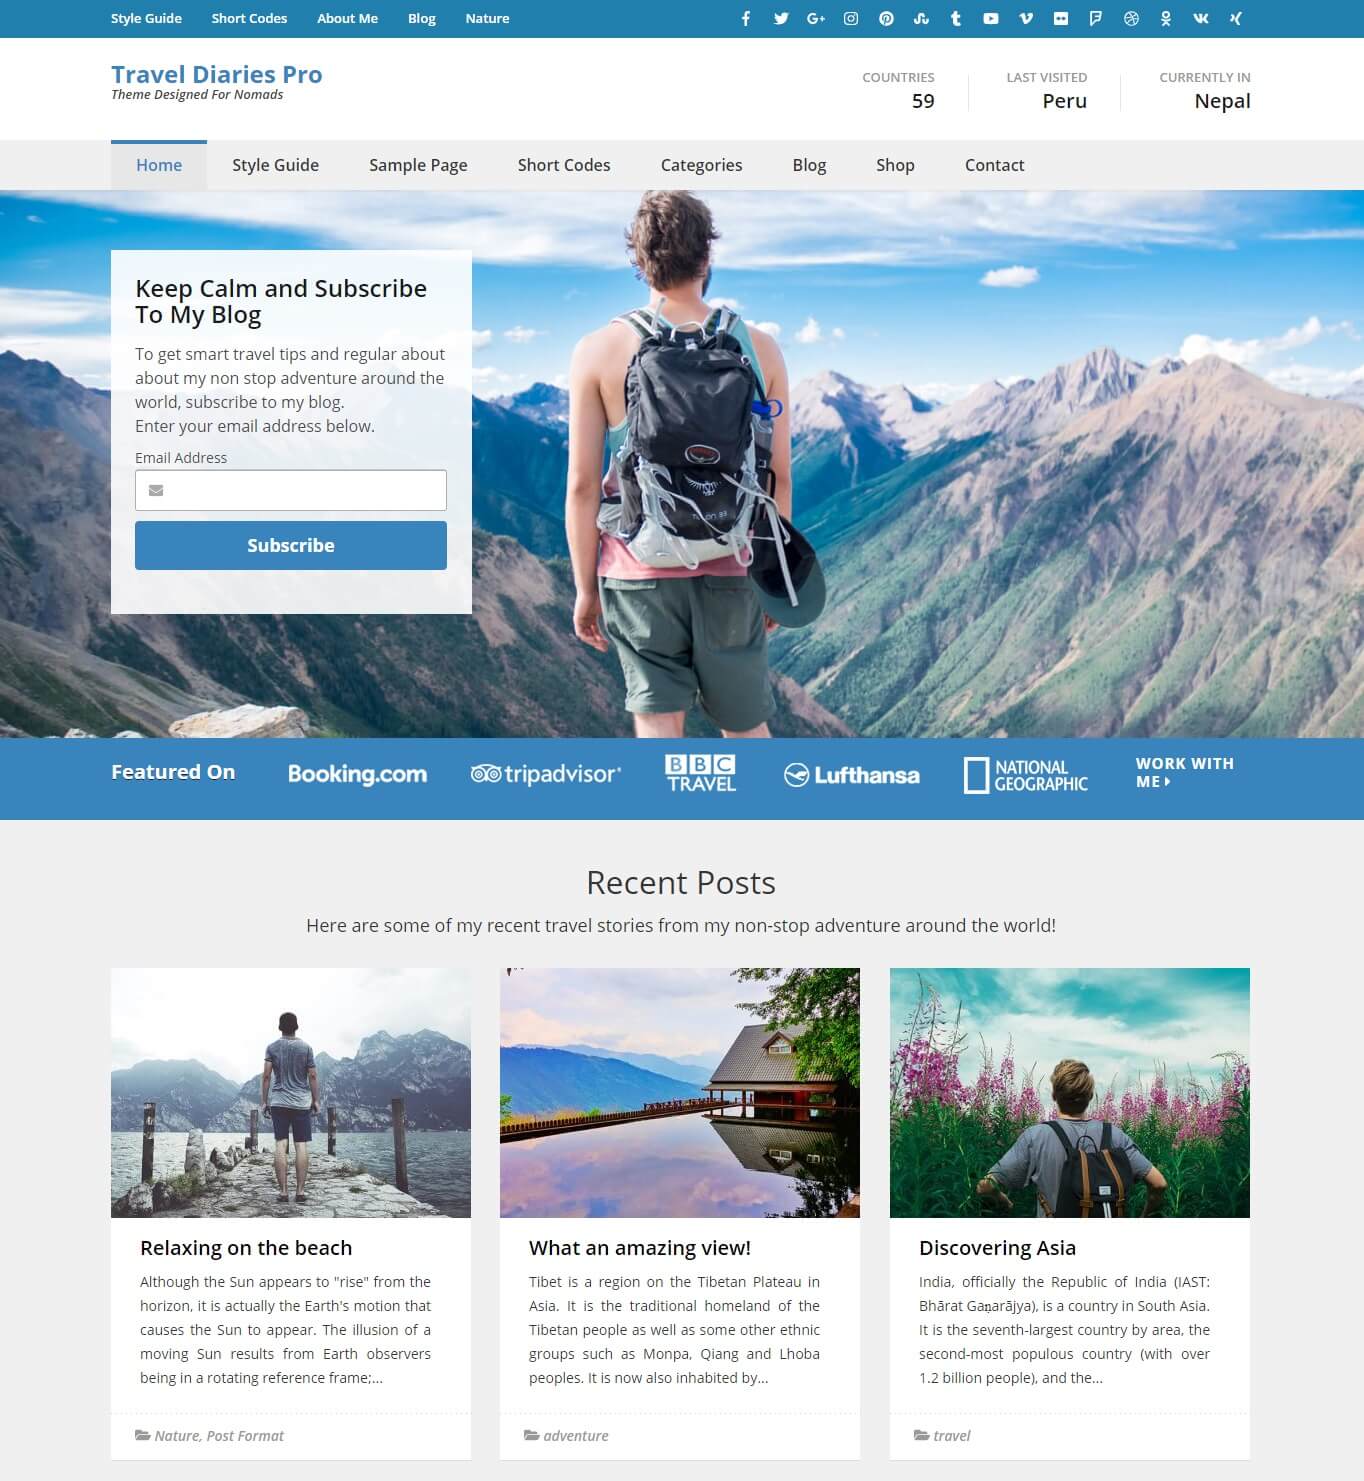
The theme comes with 2 blog layouts, 6 header layouts, 900+ Google Fonts, and unlimited color schemes. Travel Diaries Pro comes with features that allow you to promote your work as a travel blogger.
You can showcase all your travel guides in a dedicated section. The theme also comes with an easily visible Featured On section, where you can include links to your recent collaborations with reputed travel companies.
The header lets you display interesting facts such as the number of countries you’ve visited, your last destination, and your current location. You can include links to your various social network accounts at the top bar.
You can also include a prominent newsletter subscription box in the header banner for more leads.
Besides multi-language support, Travel Diaries Pro theme also comes with an Ad Management widget, which helps increase your ad revenue.
4. Sarada
Sarada is a lively theme with a design that screams adventure and passion. This theme gives your blog a fun persona. You get a chic, trendy feel from this theme.
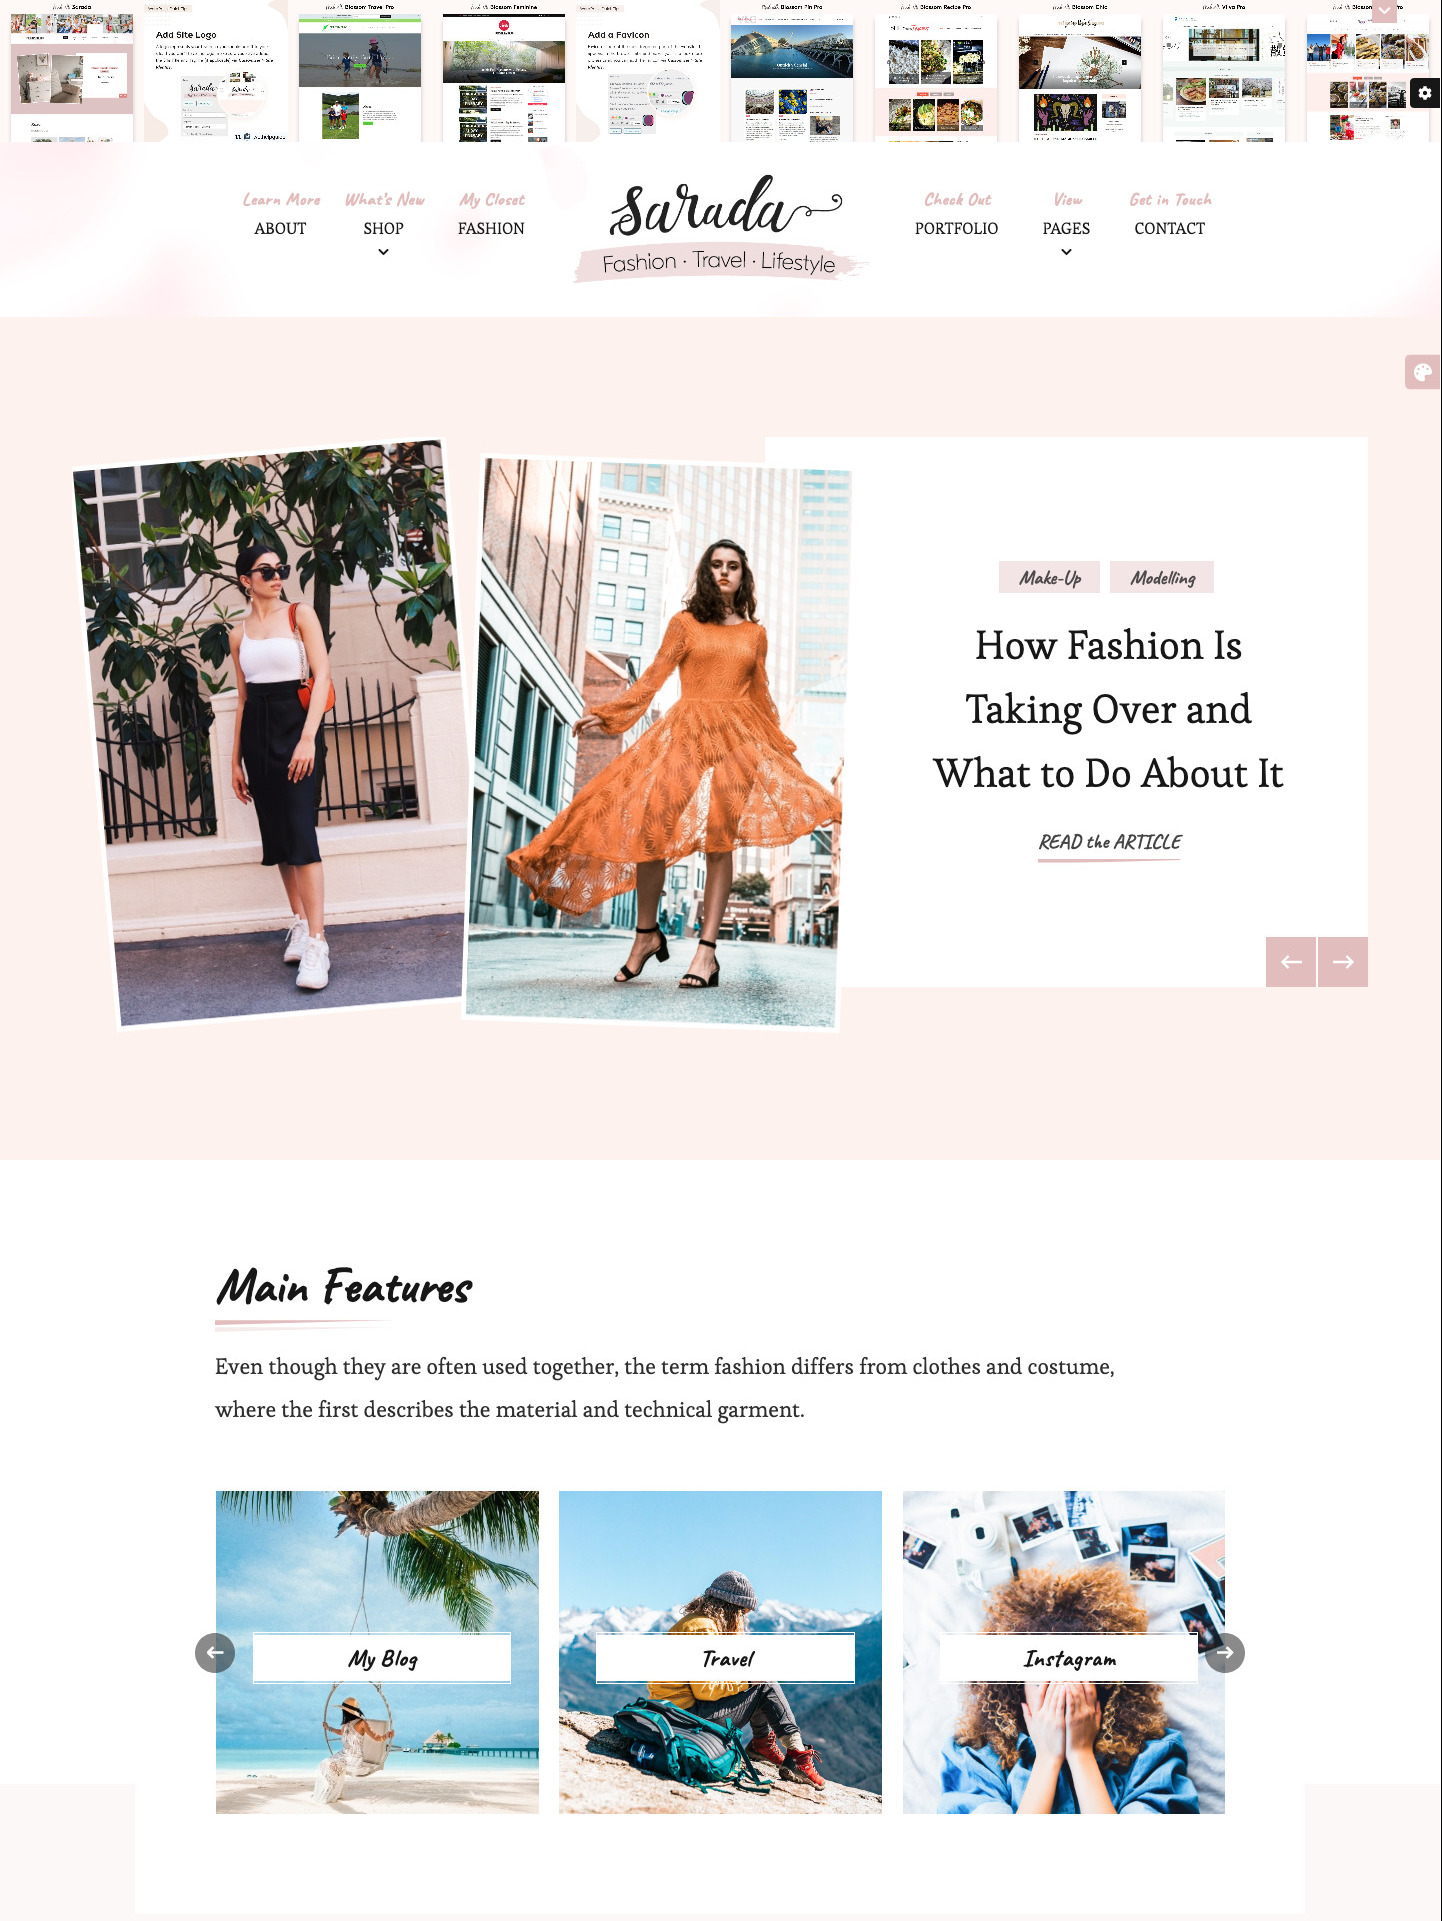
Sarada is full of essential features that give you a head start on your blogging journey. You can choose any custom theme color and over 900+ Google Fonts.
The theme comes with numerous layout choices that include 12 homepage layouts, 12 archive page layouts, and more. Homepage sections have dual featured images, creating a dynamic look.
This theme has Social media integration, and you can also have an attractive full-width Instagram feed.
Read how to authenticate your Instagram account to display your Instagram posts here.
You can promote your social media and develop your online following. Use the newsletter forms at various places to generate leads.
You can set up your online store with this WooCommerce-compatible theme, and sell your products. You can even promote affiliate links with this theme.
Installing your Theme
Once you have found the right theme, it is time to install it. You can find the options in your WordPress menu. Go to Appearance > Themes.
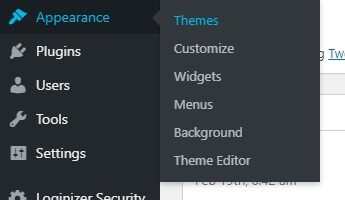
Click on the Add New button at the top. Then go to Upload Theme > Choose File. Upload the .zip file of your theme here. Once it’s uploaded, install it with the Install Now button and then press Activate.
If you are looking to use free themes, you can easily find them in the Add Themes window. Browse through the available themes and search for others using the available filters. You can Preview the themes you find interesting and easily install them through the Install button.
Step Five: Start Blogging (Tips)
With these steps, you are ready to start creating content on your very own travel blog. Rather than diving straight into your current adventures, it’s best to start it in an organized way. This way, you can begin creating value with your very first posts.
1. Create About Page
The About page should be the first words you write on your blog. Help your very first readers put a face and a name to your words. Write a short and lively description that gives a sense of who you are.
2. Write your first post
This is the first article that you are sending out into the internet through your blog persona. You introduce yourself and share your motivations and goals related to your new travel blog.
Running a WordPress blog is totally worth using a tool like Docs2Site to avoid hassle-free content uploads. Docs2Site is an export tool that allows you to upload your articles from Google Docs to the WordPress editor with a single click.
The biggest benefit of using this tool is that it uploads your articles with the formatting and media items intact. You save a ton of time using this tool that would otherwise be spent tediously reformatting the text and uploading each media item one-by-one.
3. Create social media accounts
Having your own social media is a huge plus as a blogger. Start sharing your posts on the major social media platforms from your very first post. Begin networking with other bloggers of your level.
4. Find a Niche (indie)
Focus on what you’re specifically passionate about and pick that certain niche of the travel industry. Reflect on your interests and see if you can create more quality content by exploring niches rather than creating generic content. This is valuable from a marketing perspective for both selling yourself to your audience and marketers.
Step Six: Monetize your Blog
Once you’ve started posting articles on your blog, you should quickly begin monetizing your blog to make money. Here are some major ways that you can monetize your blog:
1. Sell Ad Spaces
Ad revenue is the easiest source of income for any blogger. You can get started by signing up for the Google Adsense program. You can also get WordPress plugins to manage your ad spaces better and improve your ad revenue.
2. Affiliate programs
There are different popular affiliate programs through which you can earn income. You can endorse products on your posts and provide links to their sales page. Every time a viewer purchases a product using your link, you earn a percentage of the sale.
3. Sell your products
As you gather more experience and a dedicated following, you can sell your own products as well. You can set up an online store on your own blog with the right plugins to directly sell products. These can be anything from merchandise products to travel guides, which you may write throughout your travels.
Conclusion
The best advice for you is to start today. Don’t look back or hold on due to excuses. The tricky part is developing a dedicated following. But, once you get the hang of it, it’s all downhill from there. If you want to become a top travel blogger, follow the right steps, and work with a plan.
Continue researching ways to improve your blog all the time, even after you have settled in a workable rhythm. With time, do adapt to the new trends and update the style of your blog, but always stay true to yourself.
Besides travel blog, if you are also preparing to start your own travel agency, these travel agency wordpress themes with optimum features can be your very beginning.
We hope our article can be useful for you in taking the early steps to start a travel blog.
You might also be interested in reading this article on ‘how to start a fashion blog‘.